How To Make Wedding Bouquets With Fresh Flowers
Bridal bouquets are an inevitable part of every wedding. It is probably the most important accessory and styling detail for every bride – and bridesmaids – and that is why it’s one of the elements that people pay significant attention to.
But have you ever thought about how amazing it would be if you could create this beautiful accessory for your special day all on your own? It may seem like a tough task, but it’s such an exciting and fun thing to do, that it’s a challenge worth taking. Plus, the personal effort you’ll put into it will add a sweet and unique touch to your wedding.
Just follow those 5 easy steps and you will create the bouquet of your dreams!
1. Choose the elements of your bouquet
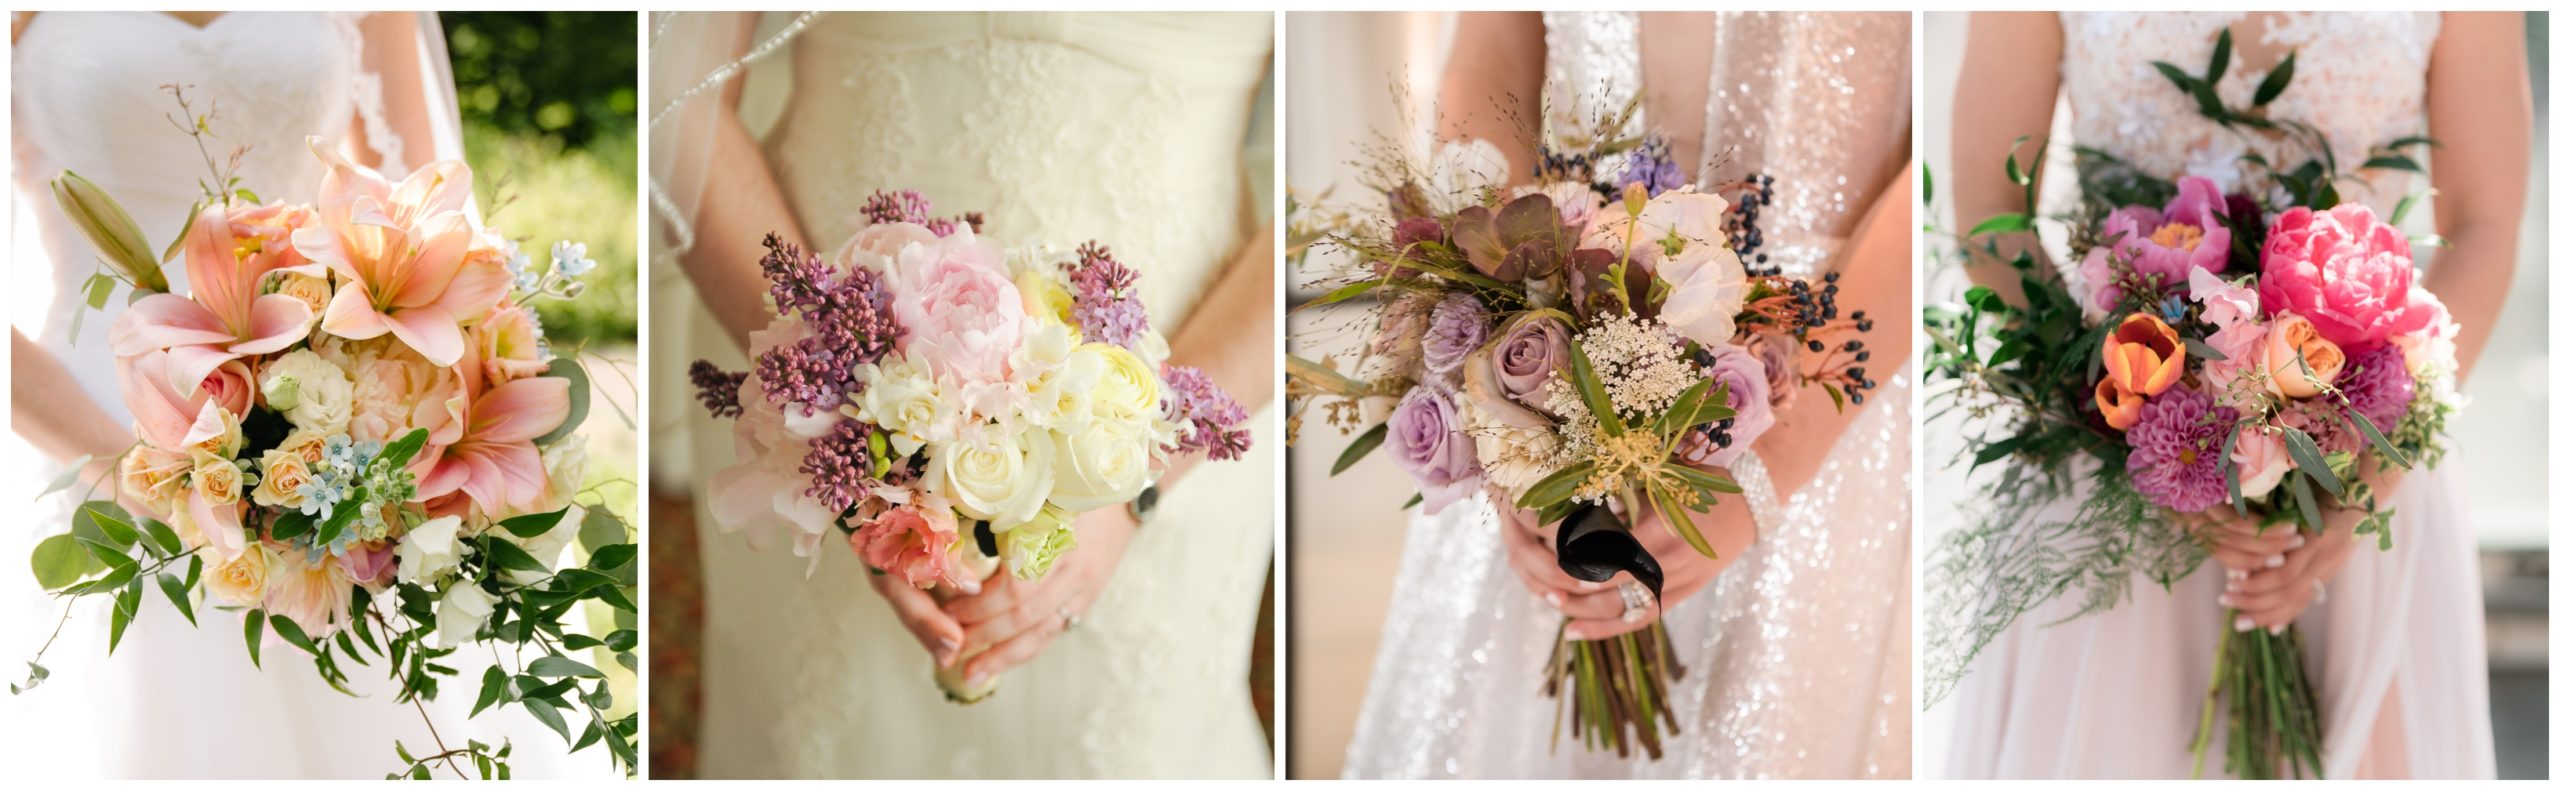
First, you need to decide on the color palette you’ll be using. Traditionally most wedding bouquets are consisted of white and cream flowers but feel free to choose whatever color you like. You can find inspiration in lots of things: the overall floral design or the aesthetic of your wedding, any emotions you wish your bouquet to convey, whether it is an evening or a morning wedding, the location, and even your wedding dress. You can choose sentimental, contrasting, or matching colors, soft or vibrant tones, light or darker shades. Whatever you choose though, prefer to stick to shades of either a single color or a small range of colors.
Once you’ve made your decision, you can move on with choosing your flowers. You’ll need two types of flowers: your strong primary flowers and some secondary flowers.
For the primary flowers, some excellent ideas could be roses, orchids, calla lilies, hydrangeas, peonies, dahlias, magnolias, and many many more. Choose 1-3 of your choice, but make sure to pick flowers with strong and long enough stems, cause they’ll be the ones to support the overall bouquet. Also, remember to keep seasonality in mind too. If you wish for out-of-the-season flowers or ones that grow sporadically during the year they might be quite hard to find, and more expensive as well.
The same tips apply to your secondary flowers as well. Some nice choices, in this case, would be spray roses, freesias, or any filler flowers like baby’s breath or waxflowers. Greeneries would be a nice detail as well.
2. Gather all your supplies
To make your beautiful wedding bouquet, you’ll need:
- Fresh flowers of your choice
- Flower tape
- Flower shears
- Ribbon
- Pearl tipped pins
3. Prepare your flowers
Using the flower shears – or a stem stripper, in case you have one – pull of any foliage and thorns along the stems of the flowers and discard any damaged or discolored outer petals. In case you’d like some green touch on your bouquet, you can keep some of the top leaves of the flowers. Then, trim all the stems at an even length, but leave them long enough to be easy to work with (around 10 inches). If you want them shorter, you can trim them again later.
4. Start putting all parts together
Take 3 or 4 of your primary flowers with the largest blossoms for the center of the bouquet. Place them all together crossing the stems. Hold them right beneath the blossoms, just at the point where the stems cross with each other. Then start building the bouquet by adding more of your primary flowers, one at a time. To make sure all stems cross together, rotate your hand while you’re adding the flowers, to create a spiral shape.
Once you’re done with the primary flowers, keep doing the same process with your secondary flowers, placing 2-3 at a time. Use them to fill any gaps or empty spaces between your main flowers.
Make sure to adjust the flowers as you add more so that they seem to come out from the center and none of them are extending too far or too near from the others. You want your bouquet to be balanced and rounded, with an even volume and shape.
Last but not least, trim the stems once again to the final length you wish for your bouquet. Usually, 6 or 7 inches is a quite good number.
5. Wrap your bouquet
This step includes two wrapping layers!
For the first layer, use the floral tape and start wrapping around to secure your bouquet. Start from a point bellow the blossoms – about 1-1½ inch, but as close enough as possible to keep the stems tight. Wrap roughly around the stems several times and then all the way down in a spiral shape for about 3-4 inches more.
For the second layer, use around 180 inches of ribbon, one that matches the color palette of your bouquet. Start from the same point bellow the stems where you wrapped the tape, wrap all the way down the stems until you reach about ½ inches before the end, and then all the way up again, until all floral tape is covered. To secure the ribbon tie it in a knot or a bow, or use some pearl-headed pins to add some extra glam.
Well done! Your very own wedding bouquet is ready!
Some extra tips to remember:
- Avoid making your bouquet too large, cause it’ll be tiring to hold. A good – and commonly used – size for a bouquet’s diameter is around 8-13 inches, no wider than the bride’s waist.
- Always make sure to get more flowers than you need. Especially if you’re doing this for the first time, it’s natural to make mistakes or change your mind along the way. So better be prepared for any such cases.
- If you’re planning to make the bouquet a few days in advance, don’t do it earlier than 1-2 days before the big day. You want your flowers to be as fresh as possible, and not all of them can last long. Once you’re done with the making process, put the bouquet in a container of water and keep it in a cool place or in the fridge (make sure you’ve removed any fruit you have there first).
Not sure if you got the process right? Check out how Rachel did during Rachel’s Flower Wednesday.
View this post on Instagram
At Rachel Cho Floral Design, we pair a passion for an original design with a commitment to superior customer service. We collaborate with our clients to capture their vision with dynamic, unique arrangements. Contact us today for help with all your floral needs.